Tomorrow marks David’s and my 5-year anniversary. It’s true, even though it seems cliché, time does fly. Although I didn’t have a blog back then to share my Wedding Shadow Box projects, I did a lot!
After spending a wonderful day celebrating our marriage, it was important to me that I preserve my wedding mementos in a meaningful manner. It seemed a shame to put all our wedding items in boxes and then to store them somewhere else. So I thought of displaying them in shadow wedding box.

As a constant reminder of our wedding day and all the love and laughter we shared, these shadow litter boxes are displayed in our bedroom. You might want to frame your wedding items if they are not already in a frame.
This post is part the Our DIY Wedding series. I am taking a trip down the memory lane to share some DIY projects that I created for my wedding. It was 2012 when I got married, and I didn’t have my own blog. So it’s great to go back through the memories and share them with you. For links to other posts in the series, scroll to the end.
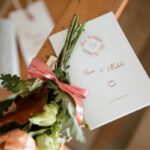
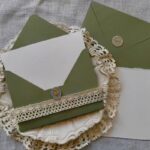
When I was cleaning up after the wedding, I discovered that I had all these mementos. These are very special items that I want to keep as a memento of the day. My extra fabric, along with my jewelry & garter. David’s DIY boutonniere. These were the love notes that we exchanged in our first look photos.
The ceremony invitation, as well as the bubbles that our guests blew when we left the church, made us smile from ear-to-ear. Our guests loved the paper bags made from the candy buffet. (I shared more about that here). The trivia cards for bride and groom that entertained guests while they waited for the meal. (More on them here). The booklet that I gave to our family members and wedding party. It contained the schedule and contact information for everyone. These mementos used to be hidden in my cedar chest in a plastic bag. They are now art in my bedroom.
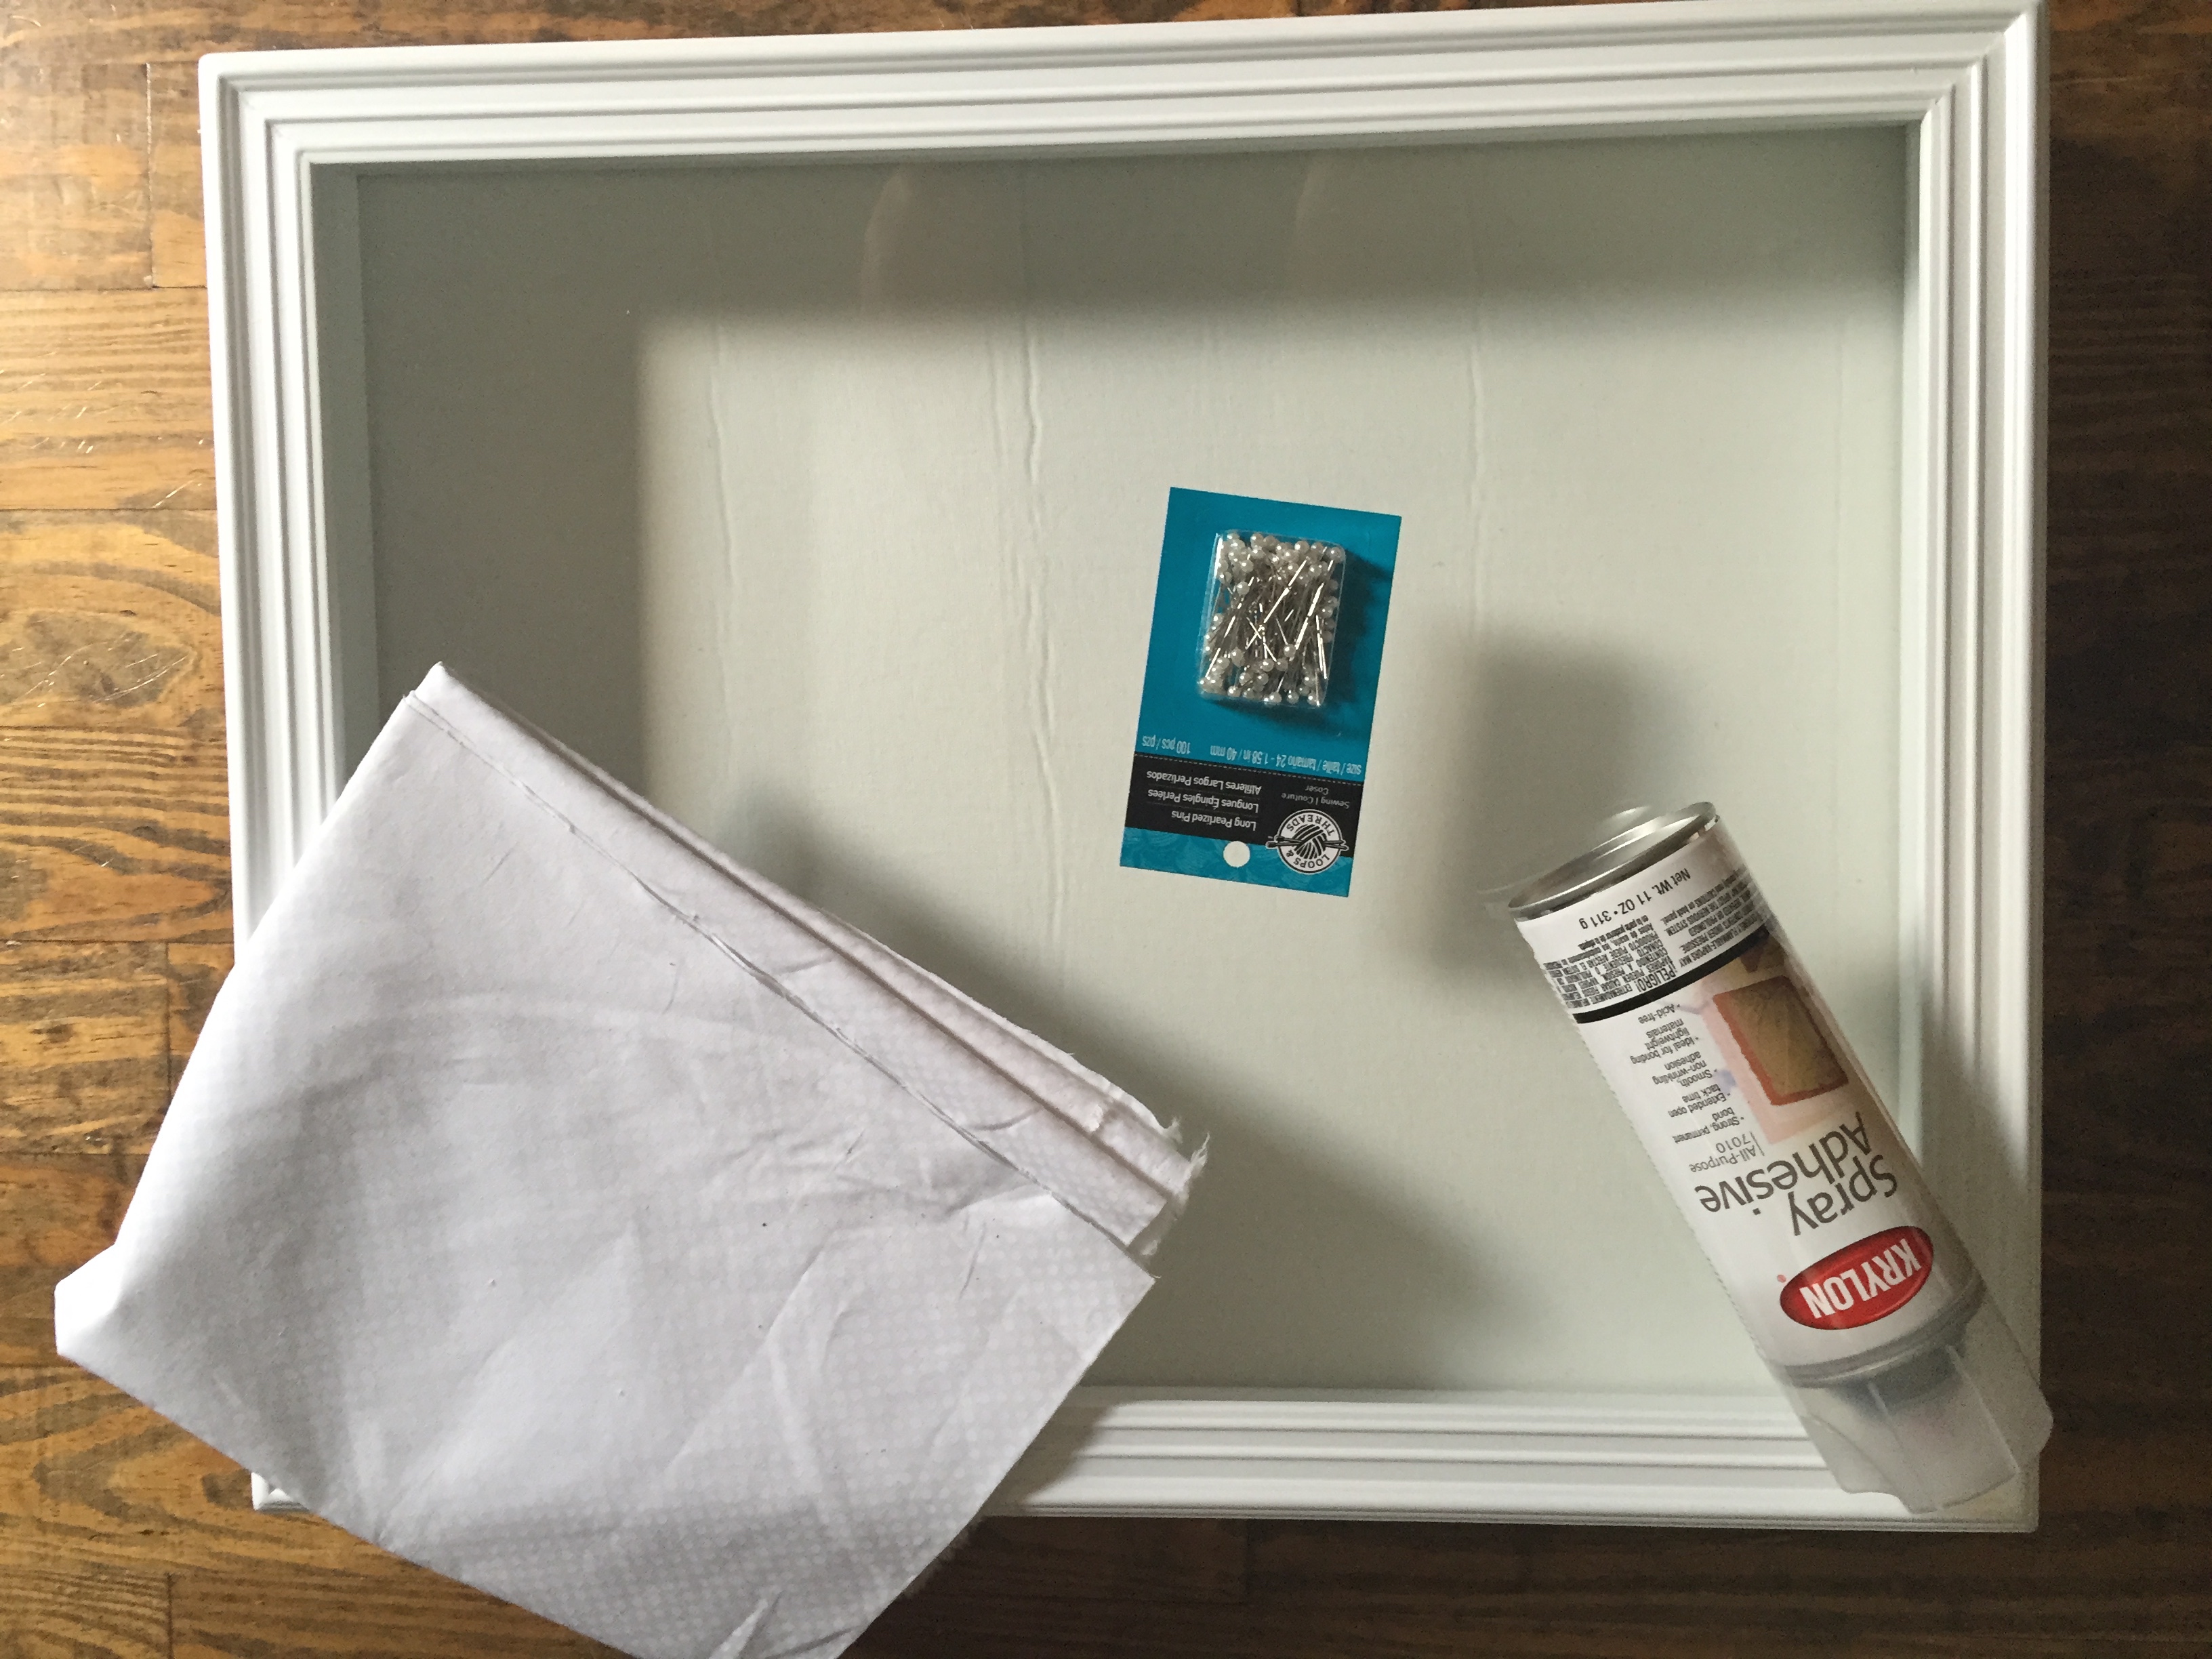
It’s easy to display mementos from your wedding! Two square shadow cardboard box frames were used. They are large enough to hold three-dimensional items that a regular picture frame cannot. These frames are similar to those I used.
It took me some finagling to arrange everything inside the shadow boxes. Because I had two frames, I decided to divide my items in half. As you experiment with the arrangement of everything, I suggest removing the back from the frame and placing it on the table.

Once you have a design you like, it’s time to put it in the glass frame. This is a difficult task that requires some critical thinking. You need to layer everything from the front as well as from the back. It is a good idea to start by creating your arrangement. To ensure that the frames didn’t snag on the pieces, I attached them with small amounts of sticky tack.
Once everything is in the shadowbox, attach the backing again and flip it over so you can see the final product. To make Wedding Shadow box covers adjustments if things aren’t quite right or slide around, remove the backing from the frame.
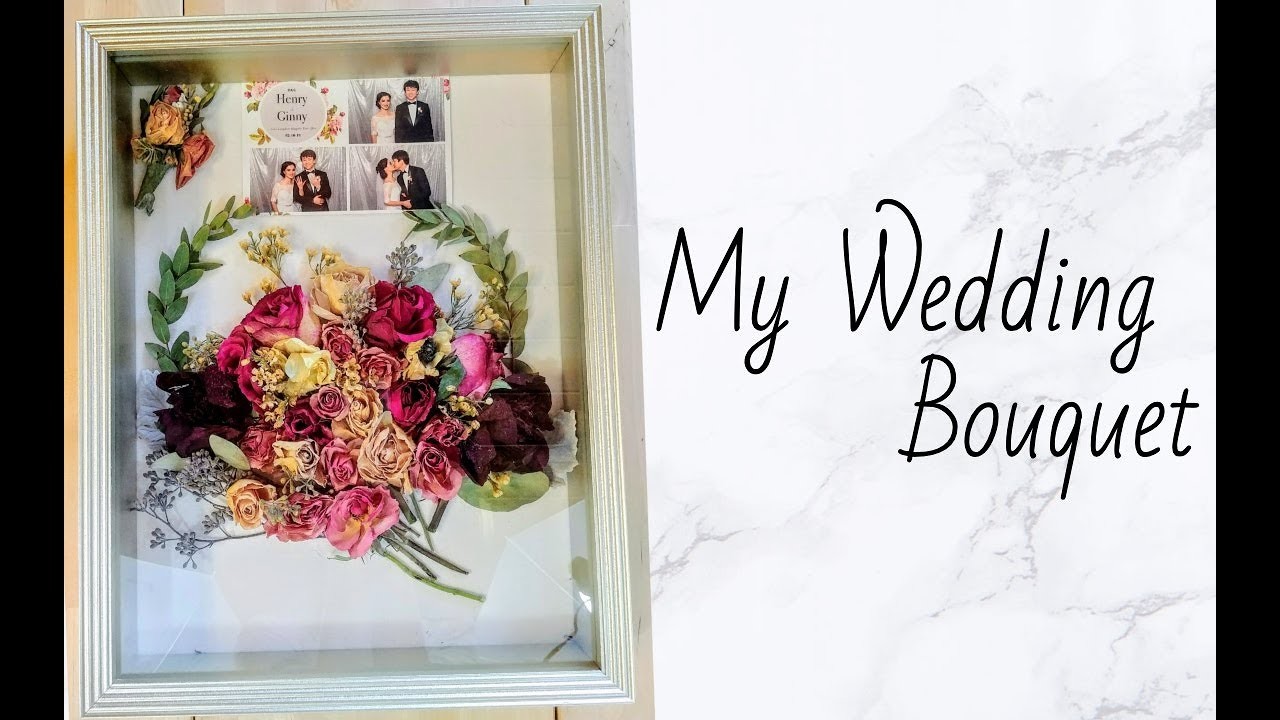
There you go! This simple project will allow you to keep your best wedding memories alive for many years. You could even include actual photos into your shadowbox! You can also use your shadowbox as part of a larger gallery wall with wedding memories.
Check out the Our Wedding Shadow Box Series for More Information
Thank you for allowing me the opportunity to share with you a small wedding project! It’s hard for me to believe that our wedding was five years ago. Since I didn’t have a blog back then I really enjoy documenting some of our DIY projects.